Better photos
How to photograph insects for identification
Small subjects magnify camera movement and make focus more demanding. An insect can be in the frame but still be hard to inspect if the camera is too close, focused on the leaf, or aimed across the body at an angle that leaves most of it soft. Work from a wider view toward a closer one, changing your own position while leaving the insect and its resting place undisturbed.
Quick answer
Take a wider frame first, then try a closer view without touching or moving the insect. If focus will not lock, step back; if only a narrow strip is sharp, adjust your angle so the useful part lies closer to the focus plane. Keep the original and choose one clear frame.
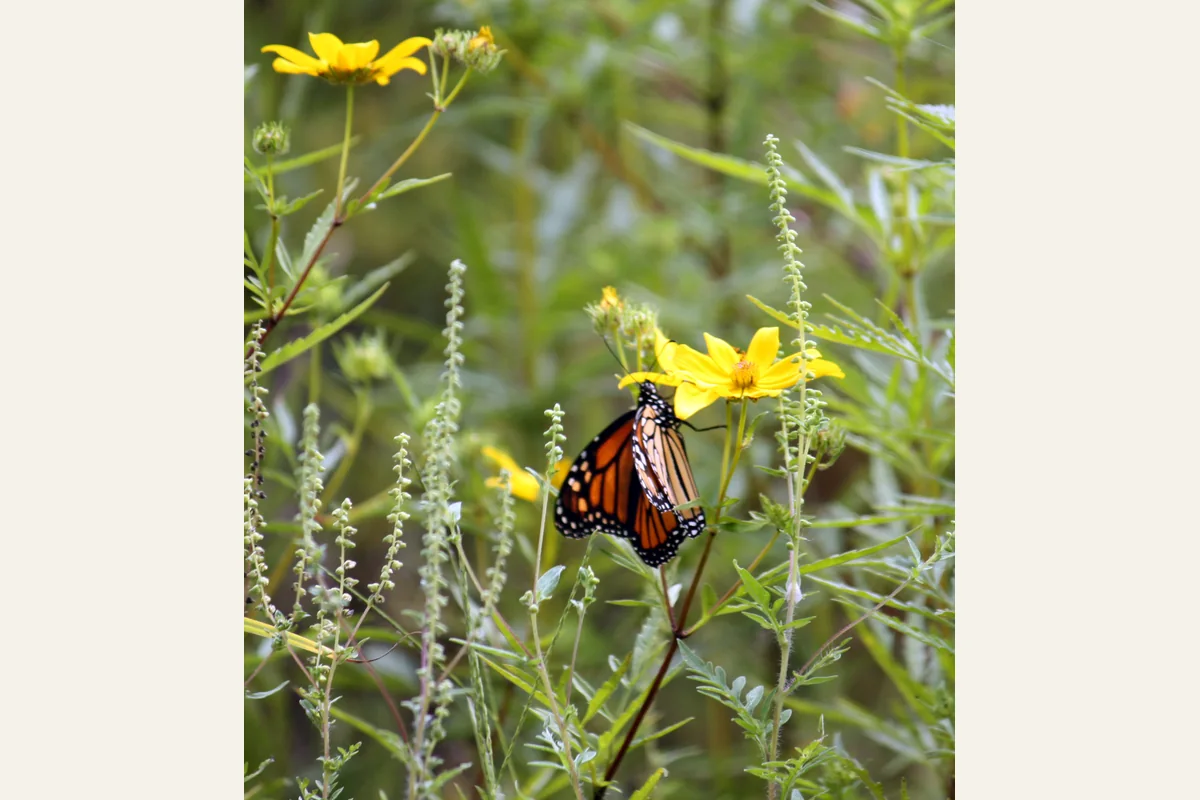
Make a context frame first
Begin with a view that includes the whole insect and the surface or plant it is using. This preserves the insect alongside its setting and remains useful if a close-up misses focus. Unless a known size reference is visible in the same plane, do not treat the photograph as a reliable scale record. Leave some space around the subject rather than filling the frame immediately; you can crop a separate copy later for your own inspection.
Do not pull apart leaves, turn over a resting insect, or handle it to reveal a feature. Move yourself slowly to find a clearer background or side view. If the insect moves away, let it go rather than following it for a tighter photograph. A calm, imperfect frame is better evidence than a sharp image made by changing the scene.
Sources: U.S. Fish & Wildlife Service — Wildlife Photography Tips
Respect the camera’s close-focus limit
If your phone hunts for focus or the image stays soft, try stepping back a little before zooming or cropping. Cameras and lenses have different minimum focusing distances; being too close can leave autofocus unable to lock. A macro or close-up mode may help on some devices, but controls and working distances vary, so check your own camera’s instructions rather than assuming one setting applies everywhere.
Nikon’s macro-photography guidance explains that working distance depends on lens focal length and discusses focusing on small subjects. Treat it as equipment guidance, not a universal distance. Keep the lens clear of vegetation and the insect, and take a wider frame if backing up makes it easier to focus.
Sources: Nikon USA — Macro Photography Tips: Photographing Insects and Other Small Creatures
Line up the focus plane
At close range, only a thin part of the scene may look sharp. If the insect rests along a flat leaf, try turning your camera so the sensor plane is more parallel to the visible body; this can keep more of that surface within the focused area. A side view may show the body’s length, while a top view may suit a broad, flat back. These are options to test, not required angles for particular insect groups.
For example, if a side-on frame shows a sharp head but a soft body, move your own position until more of the body lies in the same plane, then focus again. Review the result enlarged. A soft part may simply sit outside the focus plane; do not treat blur as proof that a feature is absent. Nikon’s close-up guidance discusses depth of field and the importance of focus on small subjects.
Sources: Nikon USA — Macro Photography Tips: Photographing Insects and Other Small Creatures · Nikon USA — Creative Photography You Can Do At Home
Use gentle light and a steady hold
Bright shade or soft daylight can help you see surface detail without the hard contrast of direct sun. Watch for glare on glossy wings, and change your angle rather than touching or moving the insect. Brace your hands against your body or a stable surface if that can be done without entering habitat or blocking a path.
Take a few frames while the insect is naturally still, then inspect them for camera shake and focus. A tripod may help with a stationary subject, but it is optional and may be awkward outdoors. Camera shake is more noticeable in some close-up situations; Canon’s general explanation of image stabilization is equipment-specific and does not mean stabilization can stop subject movement.
Sources: U.S. Fish & Wildlife Service — Wildlife Photography Tips · Canon — Camera-shake blur compensation (image stabilization) · Nikon USA — Macro Photography Tips: Photographing Insects and Other Small Creatures
Let one photograph set a modest limit
Before naming the insect, ask whether the photo actually shows the feature needed to separate the candidates. A small, distant, or partly hidden subject may support only a broad group. Keep a field note about date, approximate place, host plant, or behavior if you observed it; those notes are separate from the image and should not be filled in from guesswork.
Do not sharpen or generate anatomy that the camera did not record. iNaturalist’s media guidance asks its users to keep observation images representative, and its identification guidance recommends matching the taxonomic level to the available evidence. Animal Says Hi analyzes one selected image at a time and offers a possibility, not a verified species record. If the important detail is missing, preserve that uncertainty.
Sources: iNaturalist Help — My photo isn't very good. Can I use AI to improve it? · iNaturalist Help — What is an Identification? · Animal Says Hi Help — Using photo analysis and understanding results
Two frames, one focus check
| View | What it helps record | Review question |
|---|---|---|
| Context frame | Whole insect, perch, and nearby setting | Is the subject clear without a tight crop? |
| Closer frame | A section of the insect at larger scale | Can the camera focus from this distance? |
| Angle check | The part of the body you want to keep sharp | Would a side or top view align it better with focus? |
| Final selection | One original photo for analysis | Is the key feature visible, or still uncertain? |
- View
- Context frame
- What it helps record
- Whole insect, perch, and nearby setting
- Review question
- Is the subject clear without a tight crop?
- View
- Closer frame
- What it helps record
- A section of the insect at larger scale
- Review question
- Can the camera focus from this distance?
- View
- Angle check
- What it helps record
- The part of the body you want to keep sharp
- Review question
- Would a side or top view align it better with focus?
- View
- Final selection
- What it helps record
- One original photo for analysis
- Review question
- Is the key feature visible, or still uncertain?
Keep additional views in your own photo library; Animal Says Hi analyzes one selected photo at a time.
Takeaways
- Start with a wider whole-insect frame, then move closer only if the camera can focus.
- Change your angle and focus plane instead of handling the insect.
- If the distinguishing detail is not visible, keep the identification broad.
Sources and further reading
Sources checked 17 Oct 2026.
- U.S. Fish & Wildlife Service — Wildlife Photography Tips
- Nikon USA — Macro Photography Tips: Photographing Insects and Other Small Creatures
- Canon — Camera-shake blur compensation (image stabilization)
- iNaturalist Help — What is an Identification?
- iNaturalist Help — My photo isn't very good. Can I use AI to improve it?
- Animal Says Hi Help — Using photo analysis and understanding results
- Nikon USA — Creative Photography You Can Do At Home
Have a photo of your own?
Choose a photo on Home and select Analyze — your photo is sent only when you ask for the analysis.
Discover an animal