Better photos
How to photograph animals through glass
Glass creates two challenges at once: reflections can cover the animal, and autofocus may choose the reflection or a mark on the pane. A few changes to your camera position can help, but the result depends on the light on both sides of the glass. These tips are for photographing through windows or permitted viewing panels. Follow the zoo, aquarium, building, or park’s posted rules; each place and exhibit can have different requirements.
Quick answer
Turn off flash, clean your own camera lens, and try positioning close to the glass with the lens pointed squarely through it to reduce reflections. If reflections remain, adjust your angle slightly and compare. Do not tap the glass, call to the animal, cross barriers, or assume any camera trick overrides exhibit rules.
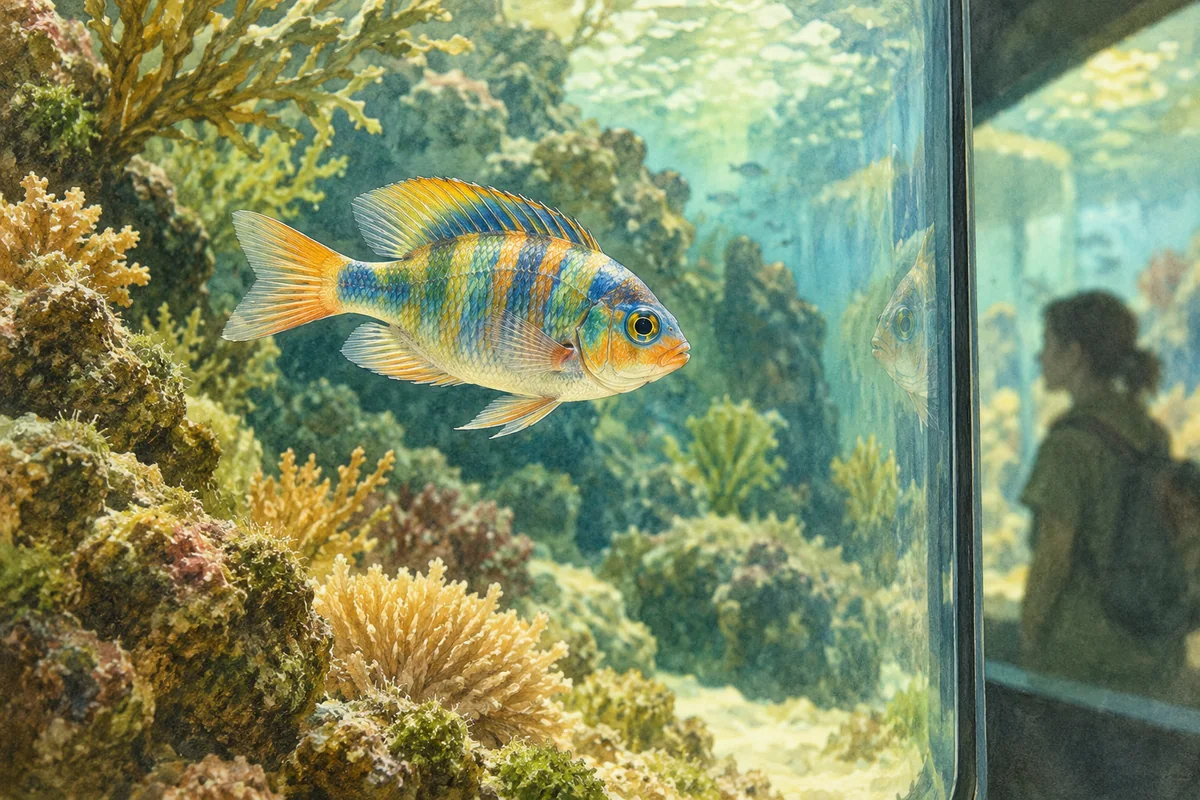
Start by controlling reflections
Turn off flash first. A flash can bounce straight back from the pane as a bright flare that hides the subject. Nikon’s zoo-photography guidance recommends placing the lens close to and straight toward glass to reduce reflections in one setup. If a lamp, phone screen, or bright scene is still reflected, shade the lens with a hand or dark cloth without pressing equipment against the pane, or shift your own position to change what reflects.
There is no single angle that works in every room. Moving squarely toward the glass can reduce the reflected front surface; a small side-to-side adjustment may help when a bright light sits directly opposite you. Take a frame, inspect it, and compare. Do not put a hood, hand, or camera where it blocks other visitors or contacts a surface the venue asks you to keep clear.
Sources: Nikon USA — Taking Better Pictures of Animals at the Zoo · Nikon USA — Zoo and Wildlife Photography
Focus on the animal, not the pane
Tap the animal on a phone screen and check whether the focus box locks on it. If the camera keeps focusing on dust or scratches on the glass, move your camera position slightly, simplify the area behind your focus point, or try a different section of the viewing panel. A longer optical focal length can make it easier to isolate the animal behind a barrier, but digital zoom may only enlarge the same limited detail.
Look at an enlarged preview after the photo. A sharp reflection with a soft animal means the camera focused on the wrong plane. A uniformly soft frame may instead come from low light, movement, or camera shake. Brace your arms and take a few frames. At a dark indoor exhibit, a faster exposure may need more light sensitivity and can add image noise; phone settings differ, so use the controls you understand and favor a clear original.
Sources: Nikon USA — Taking Better Pictures of Animals at the Zoo · Canon — Camera-shake blur compensation (image stabilization)
Work with the light on each side
If you can choose where to stand, avoid a bright light or window directly behind you when it appears strongly in the glass. A dark jacket or cloth around the lens can block some reflections, provided it does not touch the exhibit or conceal a camera in a way the venue prohibits.
Do not use extra lighting unless it is allowed and safe for the animals. Some animals are sensitive to flash or artificial light; rules may prohibit it even when the camera would benefit. Nikon’s equipment advice discusses flash as a reflection problem, while a venue’s own policy determines what visitors may do. When the instructions are unclear, ask staff or leave the flash off.
Sources: Nikon USA — Taking Better Pictures of Animals at the Zoo · Nikon USA — Zoo and Wildlife Photography
Keep a respectful viewpoint
Stay behind public barriers and keep your voice and movements calm. Do not tap, knock, bang, or call to an animal for eye contact. Do not climb, reach over a barrier, use a stick or lens through an opening, or follow an animal to another viewing point.
An aquarium, zoo, wildlife park, museum, bus, or home window may each have different rules and different glass. This guide does not establish legal or welfare distances. In a U.S. national park, follow the specific park’s current regulations; Yellowstone, for example, publishes set minimum distances for certain animals, but those figures apply to that park and should not be copied as universal rules. Local rules and staff instructions take priority.
Sources: Nikon USA — Zoo and Wildlife Photography · U.S. National Park Service — Yellowstone Photography & Wildlife Watching · U.S. Fish & Wildlife Service — Wildlife Photography Tips
Treat the image as a limited record
Glass can tint color, lower contrast, add reflections, or hide a small feature behind a smudge. Note those conditions instead of trying to edit away evidence. If the eye or key marking is obscured, the photo may support only a broad identification. Keep the original and do not generate missing features from a crop or sharpened version.
For your own notebook, record that the image was made through glass, where you were, and when you observed the animal. That context helps you interpret reflections later; it is not an input form on Animal Says Hi. The product takes one selected supported image, resizes it in the browser, and sends it only after Analyze. The output remains an educational possibility based on the submitted frame, not a verified species or statement about the animal’s welfare.
Sources: iNaturalist Help — My photo isn't very good. Can I use AI to improve it? · Animal Says Hi Help — Using photo analysis and understanding results · iNaturalist Help — What is an Identification?
Glass-photo check
| Problem | Try | Respect boundary |
|---|---|---|
| Bright flash spot | Turn flash off; recheck the frame. | Do not add light unless the venue allows it. |
| Room reflected in pane | Change your position or shade the lens carefully. | Do not press against or obstruct the barrier. |
| Pane is sharp, animal is soft | Tap focus on subject; shift to a clearer view. | Stay in the visitor area. |
| Low-light blur | Brace camera; take several quiet frames. | Never tap glass or call to the animal. |
| Color or markings unclear | Keep original and note glass conditions. | Accept a broader identification if evidence is hidden. |
- Problem
- Bright flash spot
- Try
- Turn flash off; recheck the frame.
- Respect boundary
- Do not add light unless the venue allows it.
- Problem
- Room reflected in pane
- Try
- Change your position or shade the lens carefully.
- Respect boundary
- Do not press against or obstruct the barrier.
- Problem
- Pane is sharp, animal is soft
- Try
- Tap focus on subject; shift to a clearer view.
- Respect boundary
- Stay in the visitor area.
- Problem
- Low-light blur
- Try
- Brace camera; take several quiet frames.
- Respect boundary
- Never tap glass or call to the animal.
- Problem
- Color or markings unclear
- Try
- Keep original and note glass conditions.
- Respect boundary
- Accept a broader identification if evidence is hidden.
Takeaways
- Switch flash off and inspect reflections before changing other settings.
- Test focus on the animal and steady your camera; glass and low light can each soften detail.
- Follow the venue’s rules and do not provoke an animal for a photograph.
Sources and further reading
Sources checked 17 Oct 2026.
- Nikon USA — Taking Better Pictures of Animals at the Zoo
- Nikon USA — Zoo and Wildlife Photography
- Canon — Camera-shake blur compensation (image stabilization)
- U.S. National Park Service — Yellowstone Photography & Wildlife Watching
- U.S. Fish & Wildlife Service — Wildlife Photography Tips
- iNaturalist Help — My photo isn't very good. Can I use AI to improve it?
- iNaturalist Help — What is an Identification?
- Animal Says Hi Help — Using photo analysis and understanding results
Have a photo of your own?
Choose a photo on Home and select Analyze — your photo is sent only when you ask for the analysis.
Discover an animal