Better photos
How to fix blurry animal photos
A blurry photograph is not one problem with one fix. The animal may have moved, the camera may have moved, focus may have landed behind it, or the image may not contain enough pixels to show the feature you need. Diagnose what the frame shows before trying to “enhance” it. Do not move closer to wildlife or treat artificial sharpening as recovered evidence.
Quick answer
Check the blur pattern before changing settings: streaks across the whole frame often point to movement; a sharp background with a soft animal suggests missed focus; a uniformly soft distant subject may simply lack detail. Brace the camera, refocus on the animal, use more available light, and take another frame from where you already are.
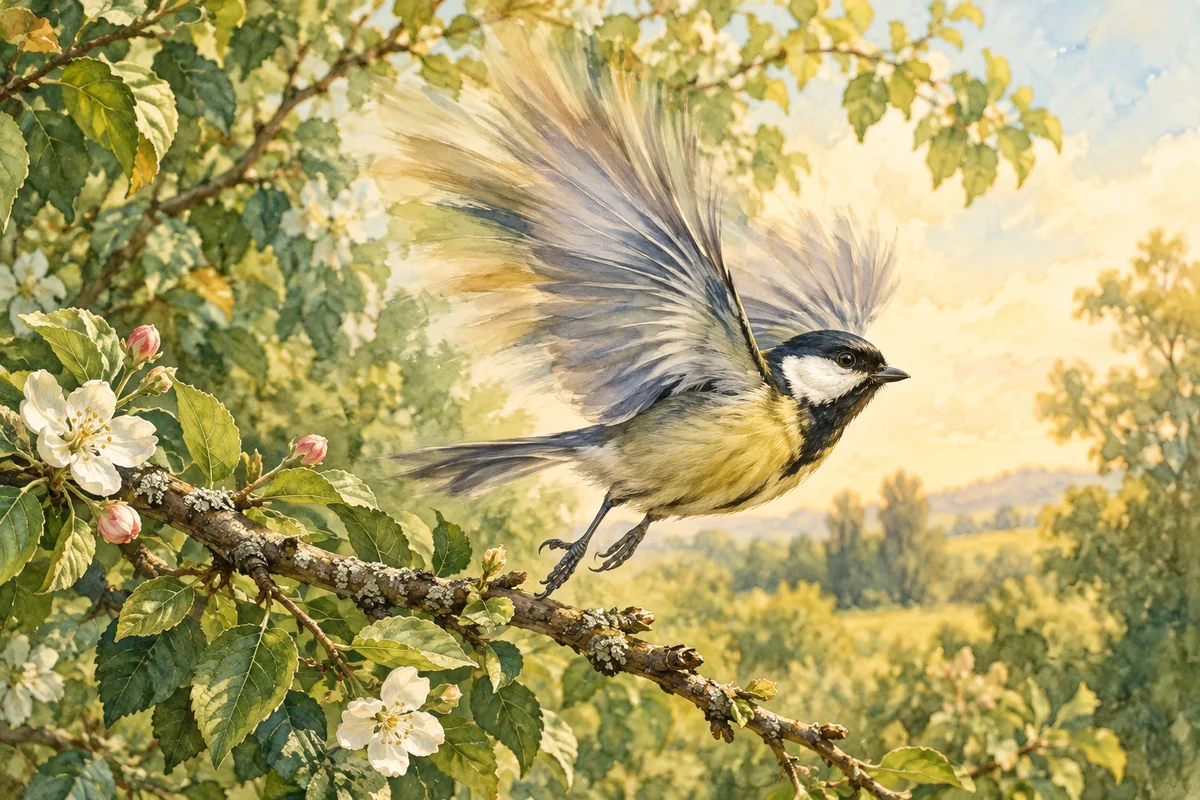
Read the blur before you react
Zoom in on the saved image, not just the camera preview. If the whole scene has a directional smear, camera shake or subject motion may be involved. If the branch or fence is sharp but the animal is soft, the focus may have landed elsewhere. If the animal’s outline is recognizable but fine markings are absent everywhere, the subject may be too small in the frame or the original image may have limited resolution.
These are clues, not a diagnosis of camera settings. A small phone sensor, low light, compression, movement, and focus can combine. Compare the animal’s eye or strongest edge with nearby stationary details. That simple comparison tells you whether another frame with steadier hands or different focus is likely to help.
Sources: iNaturalist Help — I posted an observation a few days ago and no one has added an ID to it yet · Nikon USA — Taking Better Pictures of Animals at the Zoo · Canon — Camera-shake blur compensation (image stabilization)
When the camera moved
Brace both elbows against your body, hold the phone with two hands, or rest it on a steady surface. Press the shutter gently; a strong jab can move the camera. Use the main camera lens rather than a large digital zoom when possible, then crop a copy later for personal inspection.
More light can help a camera capture a shorter exposure automatically, so step into an open, well-lit position if that is safe and allowed. Do not use a flash on an animal just to freeze motion. Camera-maker guidance notes that slow exposures, long lenses, and close-up work can make shake more visible; exact controls vary by device. If your camera has stabilization, it can help with camera movement but cannot stop the animal from moving.
Sources: Nikon USA — Taking Better Pictures of Animals at the Zoo · Canon — Camera-shake blur compensation (image stabilization)
When the animal moved
For a moving bird or mammal, take a sequence of frames while keeping the camera steady and see whether one catches a pause. Predict where the animal is already going and frame that area without pursuing it. If you can change the camera’s shutter setting, a faster shutter can reduce motion blur, but it may make the image darker; beginners can first try a phone’s action or burst mode and review the results.
For a resting animal, wait for a natural still moment rather than calling, feeding, or startling it. Movement may be the point of the image: a soft wing can still record action, even if it is not useful for seeing feather markings. Decide which job matters. A documentary frame of behavior and a close identification view are different photographs.
Sources: Nikon USA — Zoo and Wildlife Photography · U.S. Fish & Wildlife Service — Wildlife Photography Tips
When focus missed
Tap or select the animal on screen. If the camera repeatedly grabs a foreground twig, shift your position slightly so the twig no longer sits between the lens and subject. With a camera that offers focus-point controls, place the point over the animal’s head or the feature you want to inspect. Do not keep shooting through a barrier or vegetation and expect software to separate overlapping edges reliably.
Close-up photography can have a narrow region of sharp focus, and the minimum distance depends on the camera or lens. Nikon’s macro guidance discusses focus, depth of field, and equipment-specific working distance. If the phone hunts without locking, step back a little and use a modest crop later rather than pushing the lens right up to the animal.
Sources: Nikon USA — Macro Photography Tips: Photographing Insects and Other Small Creatures · Canon — Camera-shake blur compensation (image stabilization)
Know when the detail is gone
Cropping can make a subject occupy more of your screen, but it cannot restore markings that were never resolved. A sharpening slider can make edges look harder while also exaggerating noise. Generative image tools may invent feathers, spots, or colors; that is not a faithful way to recover evidence. iNaturalist explicitly asks users to submit accurate media and says a not-perfect original is preferable to an AI-altered scene for an observation.
Keep your original and label any viewing crop as a separate copy. If the feature that separates two lookalikes is not visible, do not guess it from a vague patch. Record the uncertainty, use a broader group, or take another photo later if you encounter the animal naturally. Animal Says Hi analyzes one resized image at a time; it does not compare a sequence of originals or guarantee that enhancement can resolve an unclear subject.
Sources: iNaturalist Help — My photo isn't very good. Can I use AI to improve it? · iNaturalist Help — What is an Identification? · Animal Says Hi Help — Using photo analysis and understanding results
Blur diagnosis: what is sharp?
| Visible pattern | Likely issue to check | Low-risk next step |
|---|---|---|
| Everything streaks in one direction | Camera shake or subject motion | Brace the camera; take a short sequence. |
| Background is sharp, animal is soft | Focus landed behind or beside subject | Tap the animal; clear the foreground from your angle. |
| Outline is present, fine marks are absent | The original may not resolve those marks | Keep the uncropped original for context. If safe, retake with better light or optical reach; a wider frame alone cannot restore unresolved marks. |
| One body part sharp, another soft | Close-up focus plane or angle | Shift your own position; capture a second view. |
| Edges look harsh after editing | Sharpening or generated detail | Return to the unedited original for evidence. |
- Visible pattern
- Everything streaks in one direction
- Likely issue to check
- Camera shake or subject motion
- Low-risk next step
- Brace the camera; take a short sequence.
- Visible pattern
- Background is sharp, animal is soft
- Likely issue to check
- Focus landed behind or beside subject
- Low-risk next step
- Tap the animal; clear the foreground from your angle.
- Visible pattern
- Outline is present, fine marks are absent
- Likely issue to check
- The original may not resolve those marks
- Low-risk next step
- Keep the uncropped original for context. If safe, retake with better light or optical reach; a wider frame alone cannot restore unresolved marks.
- Visible pattern
- One body part sharp, another soft
- Likely issue to check
- Close-up focus plane or angle
- Low-risk next step
- Shift your own position; capture a second view.
- Visible pattern
- Edges look harsh after editing
- Likely issue to check
- Sharpening or generated detail
- Low-risk next step
- Return to the unedited original for evidence.
Takeaways
- Use blur patterns to distinguish movement, missed focus, and insufficient detail.
- Stabilize your camera and improve light before changing aggressive settings.
- Cropping and sharpening cannot prove details the original did not record.
Sources and further reading
Sources checked 17 Oct 2026.
- iNaturalist Help — I posted an observation a few days ago and no one has added an ID to it yet
- iNaturalist Help — My photo isn't very good. Can I use AI to improve it?
- iNaturalist Help — What is an Identification?
- Nikon USA — Taking Better Pictures of Animals at the Zoo
- Nikon USA — Zoo and Wildlife Photography
- Canon — Camera-shake blur compensation (image stabilization)
- Nikon USA — Macro Photography Tips: Photographing Insects and Other Small Creatures
- U.S. Fish & Wildlife Service — Wildlife Photography Tips
- Animal Says Hi Help — Using photo analysis and understanding results
Have a photo of your own?
Choose a photo on Home and select Analyze — your photo is sent only when you ask for the analysis.
Discover an animal